Quick Links
WhileDoom: The Dark Ageshas a pretty clear focus on cracking skulls, pumping lead, and tearing flesh, there is a whole other aspect of the game that has next to nothing to do with demon destruction. When you aren’t bringing fear to the hearts of the denizens of hell, you’ll be scouring the world for secrets and filling your pockets with gold. You’ll be spending quite a bit of your time exploring, in fact.
This guide is here to provide you with tips that will help you get a feel for the best way to navigate each mission in Doom and find those collectibles as easily as possible. We’ll also clue you into how repeated missions work, and give you advice on when to cash in your Life Sigils. If you want to clear out every stage as painlessly as possible, then this guide was made for you.
If you are looking for beginner tipsspecificallydealing with combat, thencheck out our Combat Tips guide here.
Consult Your Map Before Moving On
As much fun as it is to rip and tear with reckless abandon, sprinting from location to location, the truth is, your success is going to rely on you having fully-kitted out weapons, a stack of Life Sigils, which means exploring the environments for secrets. It is worth noting that whilebacktracking isoftenan option, it isn’talwaysan option. So, if you push on too aggressively, you may have to come back again later.
One of the core aspects that you’ll need to understand is how rewards are shown on your map. If you are within a certain proximity, you’ll be shown where the secrets are. I’d argue that the map can be a touch too generous at times. However,the map doesn’t tell you how togetto those secrets. You’ll want to look at the map as closely as possible, as you’ll likely be able to identify hidden pathways by doing so.

Understanding What The Map Will And Won’t Show You
While the map is undeniably a vital tool for locating secret items, it doesn’t always show you the location ofeveryhidden goody. It shows you secrets that are within a certain distance from the Slayer. However,the map takes height and depth into consideration.This means that you can be standing right above a secret the map may not tell you. Why? Because under you is a lengthy elevator shaft.
So, if you see that there is an area well above or below you, ensure to investigate it, even if the map doesn’t indicate that there is anything of note there, as it is likely that there is a secret wedged there.

A great example of this is in the Western Hell Carrier on the Holy City of Aratum map. There is an elevator shaft right where you get the Ruby, and the map won’t tell you that at the bottom of that shaft is a Life Sigil.
Additionally, while the map will show you where a hidden item is,it won’t tell you a thing about objects you need to interactwith to reach them. The best example of this is the Siege Part 1 stage where, in order to acquire a ruby, you need to destroy three wolf statues. Those wolf statues aren’t shown anywhere on the map!

Explore Each Area Knowing That There Is No Fall Damage
When you are exploring different stages, it is important to remember thatthe game doesn’t punish you for jumping down from high-up places. In fact, for the most part, the game rewards you. You’ll actually cause a shockwave that will damage enemies if you jump from high up. But we’re not talking about combat here, we’re talking about exploring. If you see a massive shaft, don’t hesitate to jump down it. The game will often hide things way down below.
If you are supposed to be able to travel there, then you will land without taking any damage.If jumping down takes you off the map, then you’ll simply respawnback at the place where you jumped. This is true for jumping across large bodies of water or other hazards as well. There is no punishment for attempting a big jump. Use this knowledge to explore potential locations all around the map.

Understanding How The Platforming Puzzles Are Structured
One thing you’ll need to understand about platforming in the world of Doom: The Dark Ages is thatwhat you are supposed to platform on is typically marked. The way you will explore the world is through Shield Charging through walls, barricades, and doors, performing shield jumps by launching yourself after burying your shield in specific corpses, super-jumping across gaps, and scampering up specifically marked walls.
The gamenevermakes you climb up random surfaces. If you see a massive tree that has been felled, and it is leaning on the roof of a building, any attempt to climb it will be fruitless. Or worse, you may end up getting wedged in the scenery - I had this happen multiple times. So, if you can’t figure out how you are supposed to get to a certain part of the stage, remember that all traversal is clearly marked, and if you can’t find your way up or in, then you probably need to come up and around through tunnels or waterways or something along those lines. Study your map, and explore nearby areas looking for a passage or a body of water.

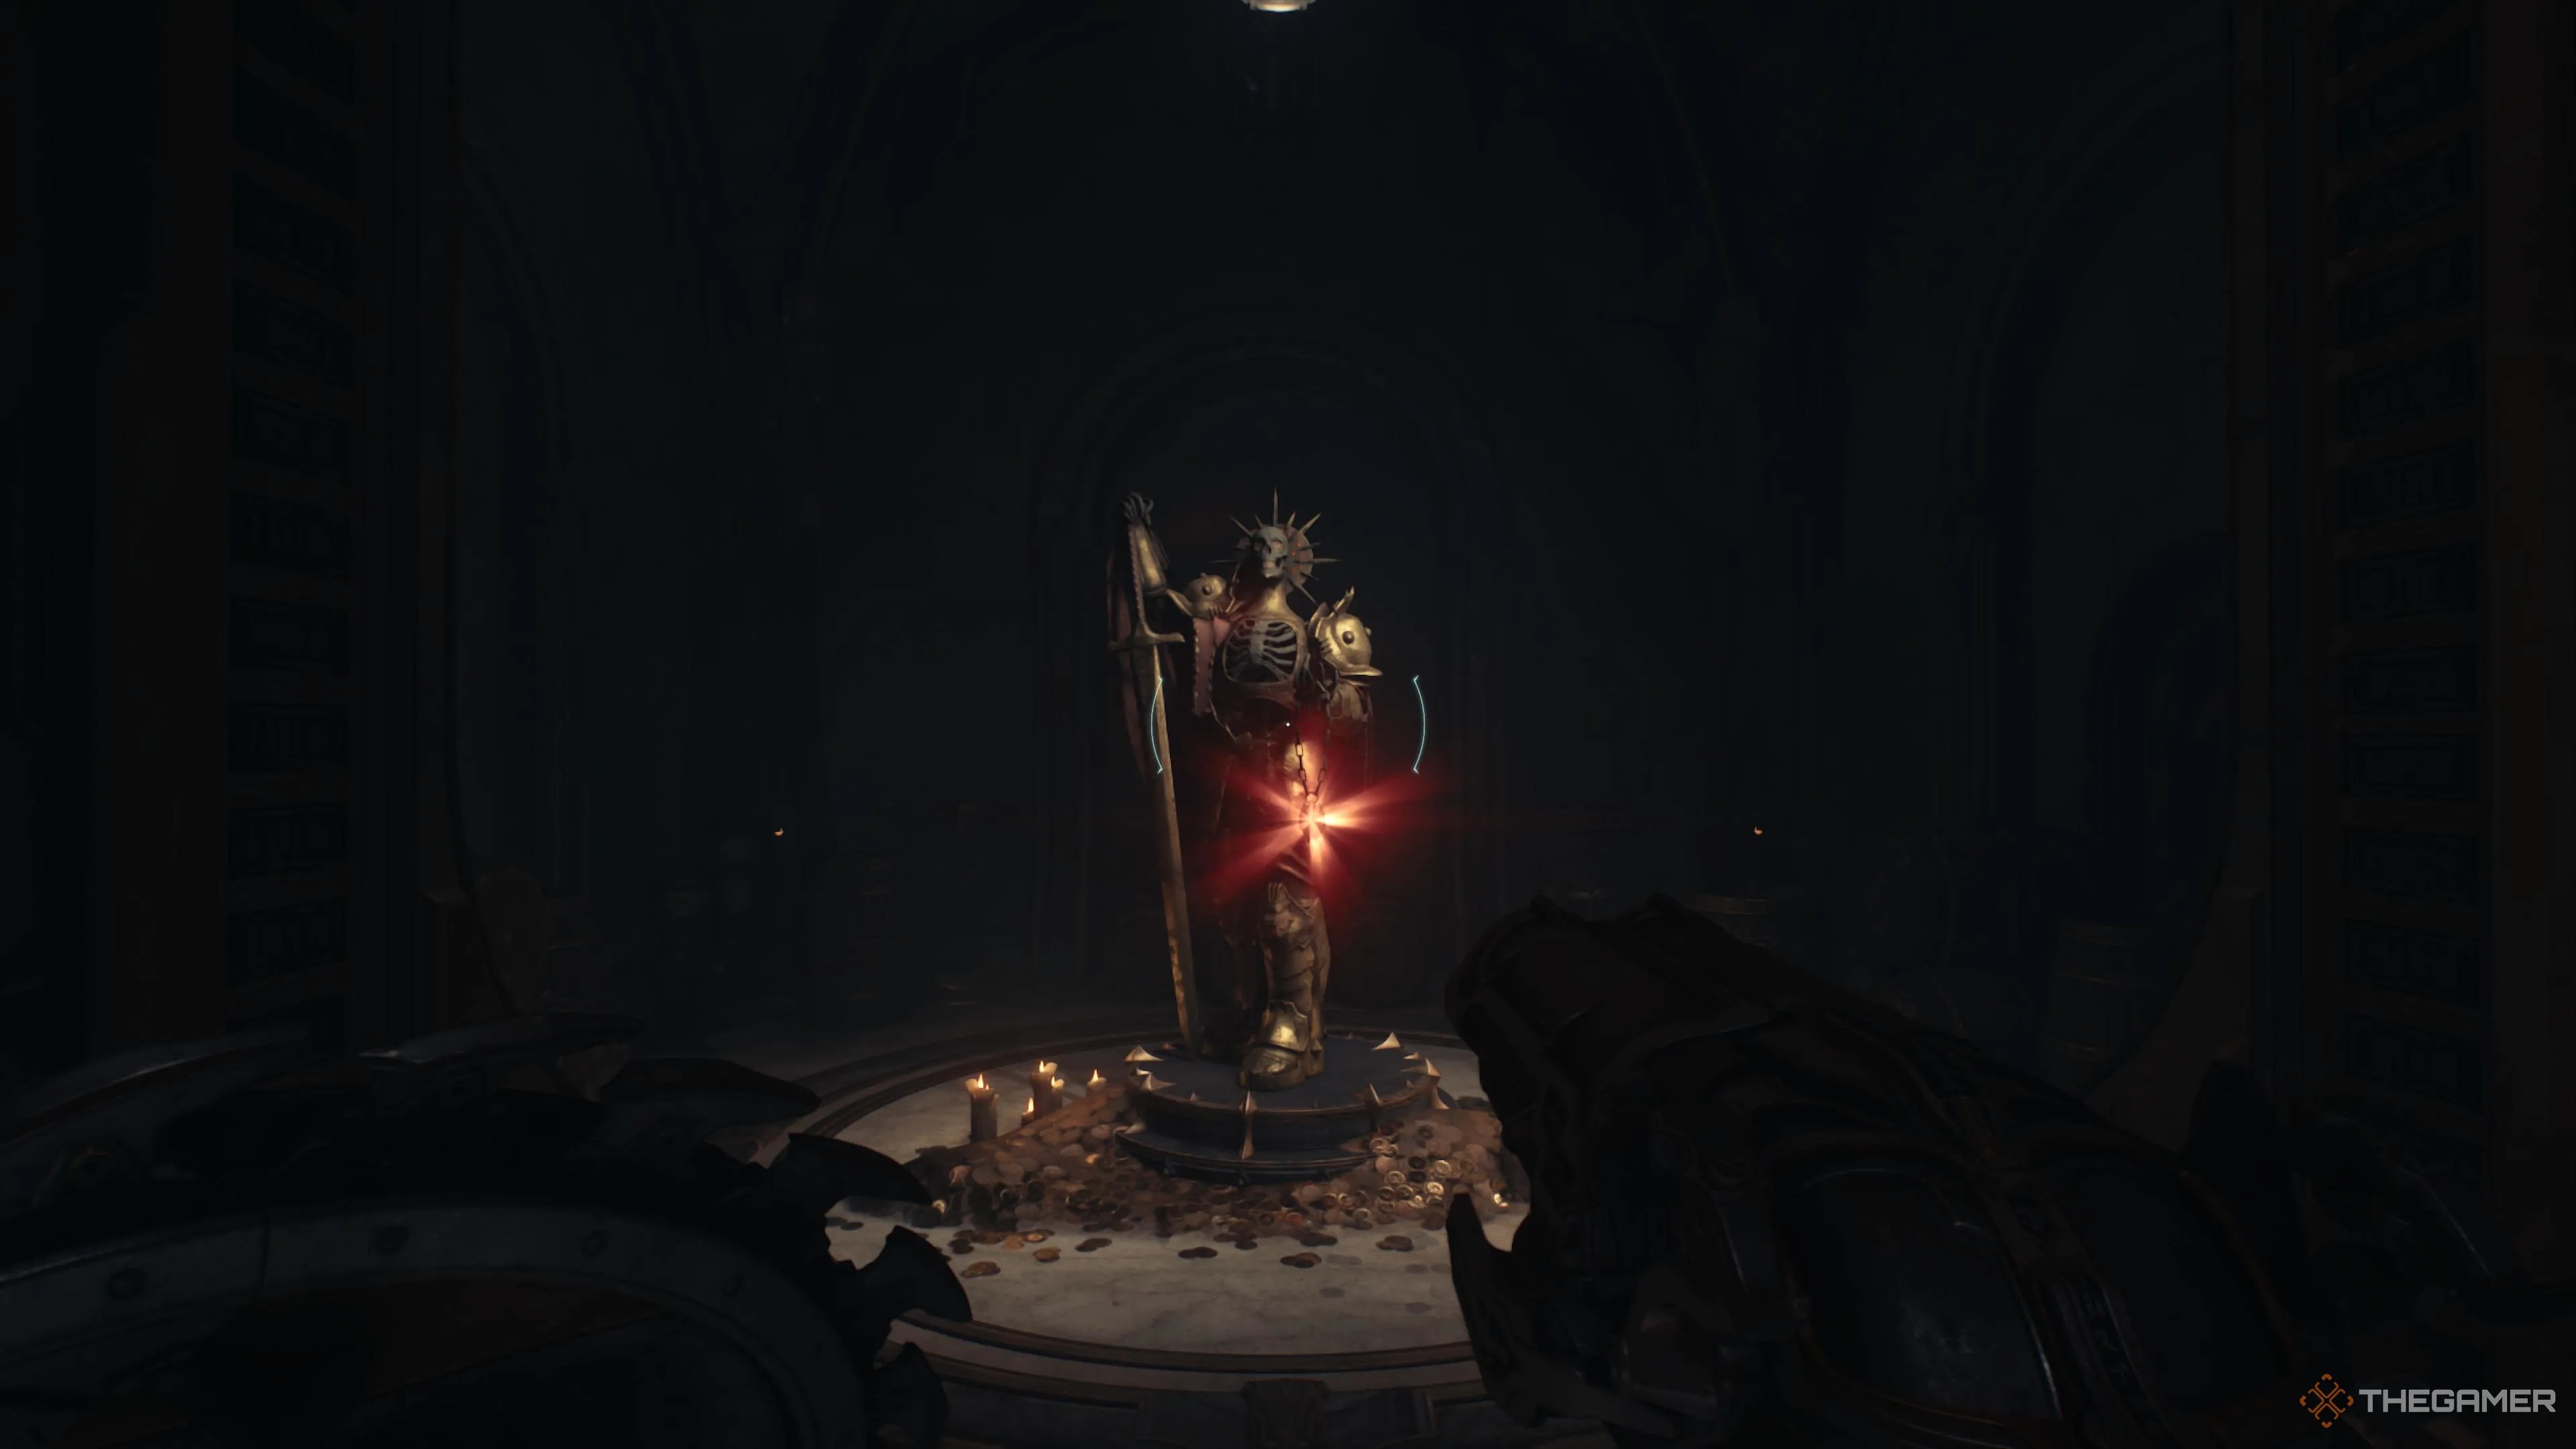
When To Use Life Sigils
Unless you are playing in the most extreme difficulty modes, you will have access to both Life Sigilsandcheckpoint saves. With the checkpoints being relatively generous in The Dark Ages, you’d be forgiven for thinking that they are, more or less, the same thing. However, there are some key differences.
The most important distinction is that checkpoints will never revive you at the mid-point of a tough encounter. If you die during the third wave of a battle, you’ll probably want to take advantage of a Life Sigil, which will allow you to avoid repeating the first two waves. If you die at the beginning of an encounter, on the other hand, you’ll almost certainly want to just load up your last checkpoint and hold onto the Sigil.
Challenge progresswillcarry over when you respawn at the previous checkpoint. So don’t worry about losing that.
Additionally, if you are limping around, barely alive and out of ammo,you may want to let yourself be killed at the beginning of the next encounter.That way you’ll be able to load up a checkpoint and start that encounter off on the right foot. One factor that will change all of this is if you are full-up on Life Sigils. If you already have three, you should be quicker to use one, as you can’t carry more than that anyway, and most levels have a couple you can grab.
You will regain ammo and be momentarily invincible when using a Life Sigil, so make sure to take advantage of all that and pump those nearby demons full of lead.
Performing Second Passes For Secrets
If you finish a stage, and you didn’t collect all the secrets and collectibles, you’ll probably want to dive back in for a second tour. Here is what you need to know…
That last point makes returning for a second run a pretty painless process. There are certainly times when you will progress too far through the main mission, andlose access to an area that you hadn’t fully explored.But you don’t need to sweat it, as you’ll be able to swing back around once you complete the stage and the peace out the second you find any missing collectibles.
I feel the need to emphasize that you’re able to quit and retain progressonlyon your second run. So, if you try to do this on your first run, maybe so that you can go clear out a previous mission, then you will lose all your progress. You’ve been warned!
Tips For Completing Challenges
Naturally, the best way to complete challenges is to keep an eye on those objectives and do your best to complete them while you are working your way through a stage. However, it is worth noting thatmany of these challenges lend themselves nicely to being completed on a repeat playthrough, as most challenges save progress across playthroughs.
In the Holy City of Aratum mission, you are tasked with destroying three Hell Fighter Ships. There are four ships that you can destroy located on the map, but if you only get two of them, then you are free to repeat the stage, destroy any of the four in that stage, and you’ll complete it with minimal fuss. And, as we’ve already talked about in this guide,once you hit that challenge’s requirement, you can jump back to the main menuwhile retaining your completed challenge.
